

Closing the wasted space above the cabinets changes the whole feel of the room! It makes the ceiling seem taller and the paint really brightens it up too.
Here's a look at the before:

We thought about starting from scratch with new cabinets, but there's not really anything wrong with these ones other than they weren't as tall as we'd like and we weren't liking the color of the oak. So, the solution was to paint and build them to the ceiling! The first thing I did was rip out the wood valance that was over the sink (with a beautiful fluorescent light hiding underneath). That left wires poking out from the wall, but even with the wires it felt so much better.

I don't have pictures of the frame I built, but I used 2"x2" lumber and attached it to the cabinet, ceiling and the wall. Then I had a sheet of MDF ripped down (make sure you measure each section...mine were all different) and attached it to the frame with glue and pin nails.
 |
It looks a little crazy at this point, but we're moving the in right direction! The next step is to find three different pieces of trim. You'll want one piece to cover the seam where the cabinet meets the MDF, one for along the ceiling, and one to break up the space in between. Then cut to size, attach with pin nails, fill the millions of nail holes, sand, and finally paint for what seemed like years!
Here's everything all painted (minus the peninsula) and pretty! It's a little hard to see, but we installed a pendant light above the sink, so no more wires sticking out the wall, just more holes to patch and sand. Also notice that we're lacking drawers...we ordered new ones and they took a while to get here!


Finally new drawers and soft close drawer slides! They look so nice and work great, but I'll be happy if I never have to install another drawer slide!!

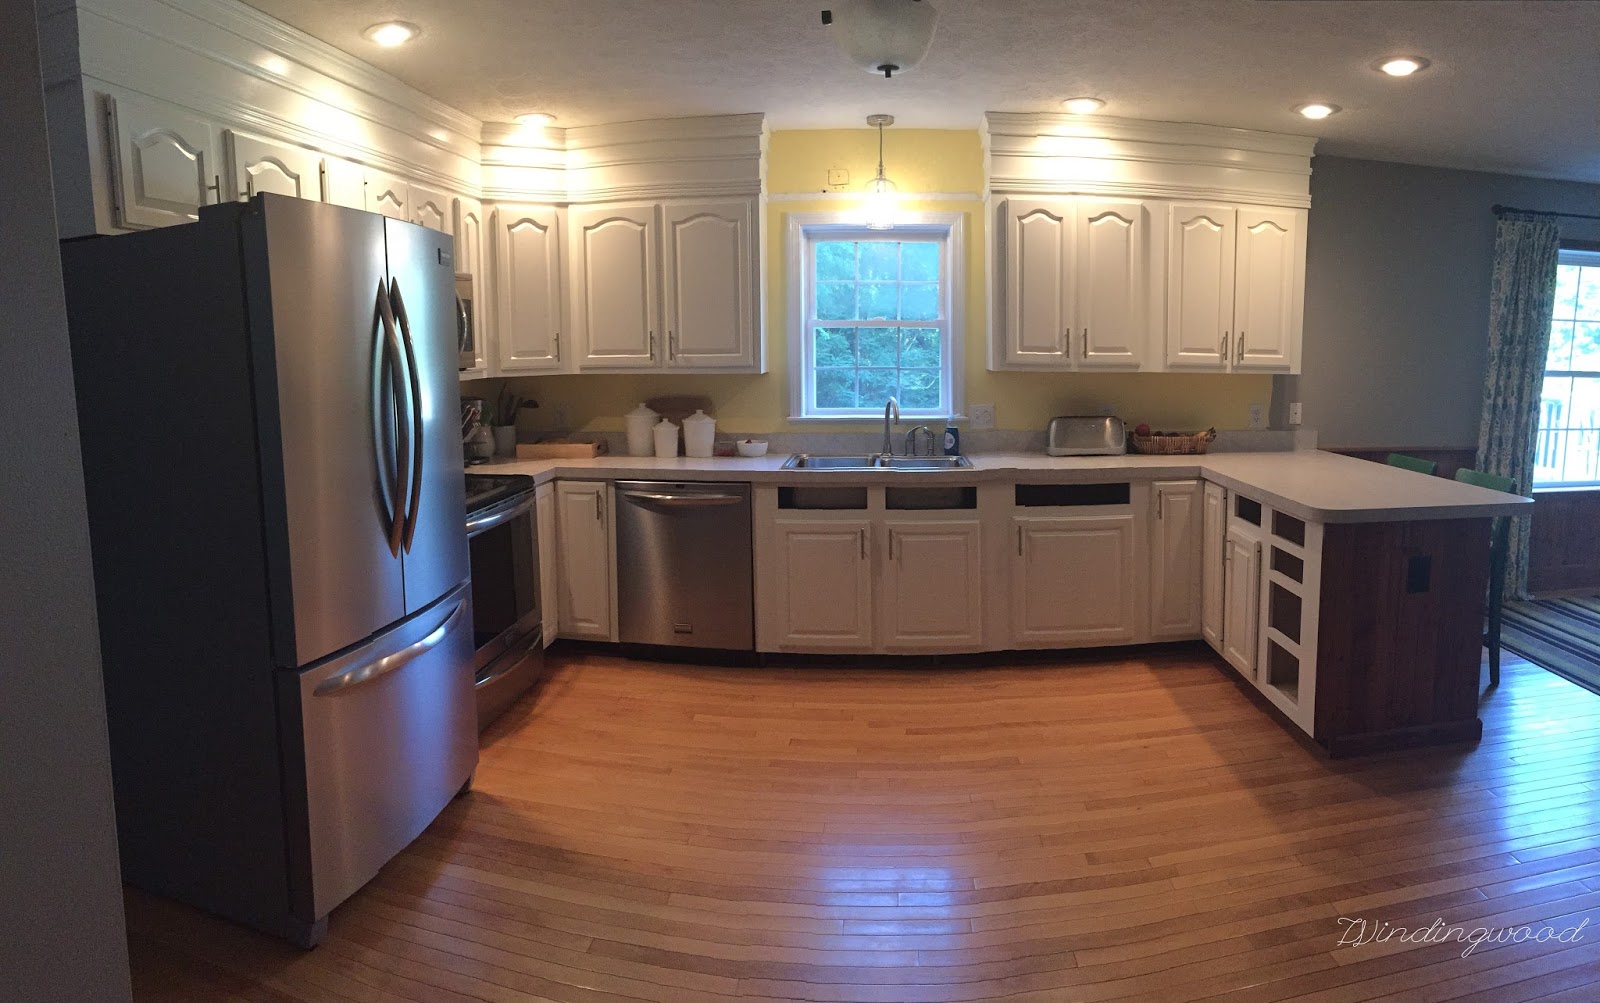
The drawer fronts are installed and the kitchen is looking a little more finished. I also painted the peninsula, although I still need to switch out the black outlet and cover with a white one. I also installed a white toe kick.

Here's a look from another angle! The walls are Sherwin Williams requisite gray (SW 7024). The cabinets are Sherwin Williams alabaster (SW 7008) in the Pro Classic paint.
Next up: refinished the floors, new countertops (most likely granite or quartz), and a tile backsplash.
No comments:
Post a Comment